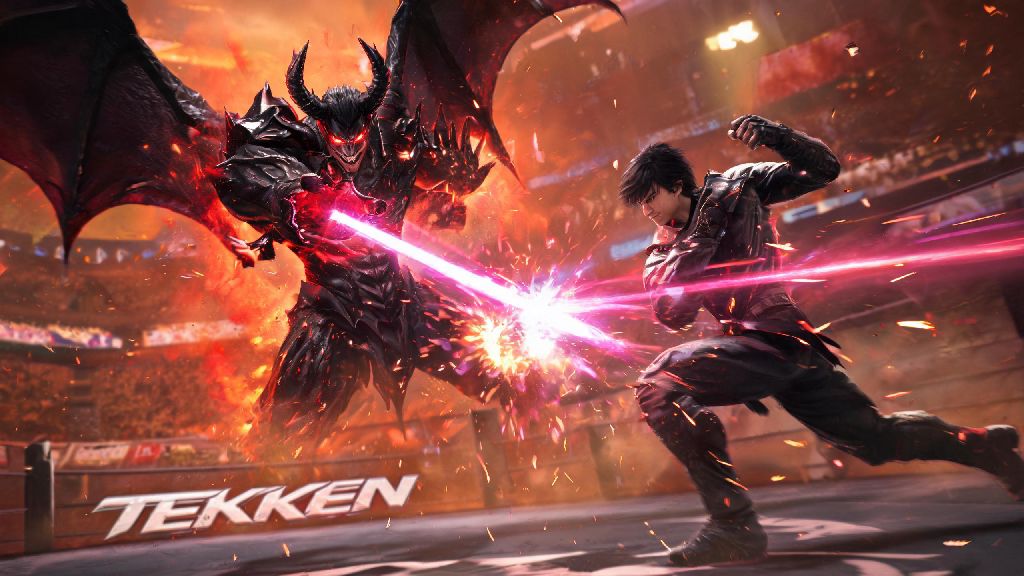
If you’ve made it to the final stretch of Tekken 8’s story mode, you already know that True Devil Kazuya is less of a regular boss fight and more of a skill check designed to wipe out 90% of first-time players. I spent three full hours getting my teeth kicked in by him last month, so I know firsthand how frustrating his one-shot lasers, unblockable flurries, and constant gap-closing moves can feel. This guide breaks down exactly how to beat True Devil Kazuya in Tekken 8, no cheap exploits or overpowered DLC characters required.
Key Weaknesses to Exploit When Learning How to Beat True Devil Kazuya in Tekken 8
Before you jump into the fight, you need to stop fixating on how many attacks he has and start paying attention to the gaps in his kit that you can abuse. Every one of his high-damage moves has a clear, predictable tell, and he has consistent blind spots that work across all three phases of the fight. His biggest consistent weakness is his overreliance on high and mid attacks during combo strings. That means you can crouch under most of his standard flurries without taking damage, as long as you don’t get greedy with counterattacks.
You don’t need to memorize every single move in his kit, just focus on these core weaknesses first:
These weaknesses stay the same no matter what phase he’s in, so practicing recognizing them early will make the entire fight far less stressful. I used to waste all my energy trying to block every single attack, but once I started leaning into these weaknesses, my win rate jumped from 10% to 70% almost overnight.
Phase 1 Strategy: Chip Away Health Without Taking Unnecessary Risks
Phase 1 is the easiest of the three, but it’s also where most players waste their entire health bar trying to land big combos too early. Your only goal here is to get him down to 70% health without using more than 20% of your own health bar, so you have buffer for the harder phases later. Stick to quick, 2-3 hit combos and low kicks for the first 30 seconds, since he won’t block low attacks during that window. If he dashes at you, block high first, then crouch after the second hit of his string to avoid the rest of the attacks.
Don’t try to counter his dash punches unless you’re 100% sure you can block them first — missing a counter here will leave you open for a 40% health combo that’s hard to come back from. I made the mistake of spamming Rage Arts early on in this phase, and I quickly learned that he can dodge almost all non-point-blank Rage Arts with a quick side step. Save your Rage Art for phase 3, when you really need it.
Phase 2 Counterplay: Avoid His Unblockable Wing Attacks and Laser Barrages
Once you knock his health down to 70%, he’ll trigger a short cutscene and unlock a new set of wing-based attacks and laser barrages that can wipe out half your health in one go if you’re not paying attention. The first new move you’ll notice is his wing sweep, which hits both mid and low at the same time if you’re standing within 5 feet of him. The only way to avoid the wing sweep is to side step left the second you see his wings start to lift. Trying to block or crouch through it will almost always result in you taking damage, so don’t even bother.
He also unlocks a spread laser attack that covers 70% of the screen in phase 2. You can spot this attack when he floats 2 feet off the ground and his chest starts glowing red. Crouch as far to the left edge of the screen as you can, and the entire laser spread will miss you completely. This is also the phase where he starts using grab attacks more often, so remember to crouch regularly to negate them entirely. If you do get grabbed, you can break out 80% of the time by mashing the 1 and 2 buttons at the same time, but it’s far easier to just crouch to avoid the grab in the first place.
Phase 3 Finishing Moves: End the Fight Before He Uses His One-Shot Laser
Phase 3 is where most players lose the fight, even if they got through the first two phases without a scratch. Once his health drops below 30%, he gains a permanent damage boost and unlocks his one-shot full-screen laser that can kill you instantly, even if you’re at full health. Your number one priority in this phase is to avoid letting him charge that full-screen laser for more than 1 second. You can interrupt the charge by hitting him with any quick attack, even a basic jab, so keep your finger on the quick attack button the second you see his chest start glowing bright purple.
This is also the best time to use your Rage Art, since he’s far less likely to side step it when he’s charging attacks of his own. If you saved your Rage Art for this phase, it can knock out up to 25% of his remaining health in one go, which cuts your fight time in half. Don’t get greedy with long combos here, either. Even if you land a perfect opening, stick to 3-4 hit combos at most, so you can get back to blocking or side stepping before he counters. I lost three separate phase 3 runs because I tried to land a 7-hit combo that left me open for a quick counter attack that wiped out my remaining health. Don’t back all the way into the edge of the screen in phase 3 — he has a dash attack that will pin you against the edge and land a full combo that you can’t escape from, no matter how fast you mash buttons. Stay in the middle 50% of the screen at all times, so you have room to side step left or right as needed.
Beating this boss doesn’t require perfect reaction times or a top-tier main character, it just requires knowing his patterns and sticking to the strategy that works for your playstyle. If you keep getting stuck on a specific phase, take a 10 minute break and come back to it — I found that I landed way more counters when I wasn’t frustrated and rushing through attacks. Once you get the patterns down, learning how to beat True Devil Kazuya in Tekken 8 gets far easier, and you’ll be able to clear the fight on your first try most of the time. Oh, and once you beat him? You unlock the True Devil Kazuya skin for regular play, which is 100% worth the hours of frustration.