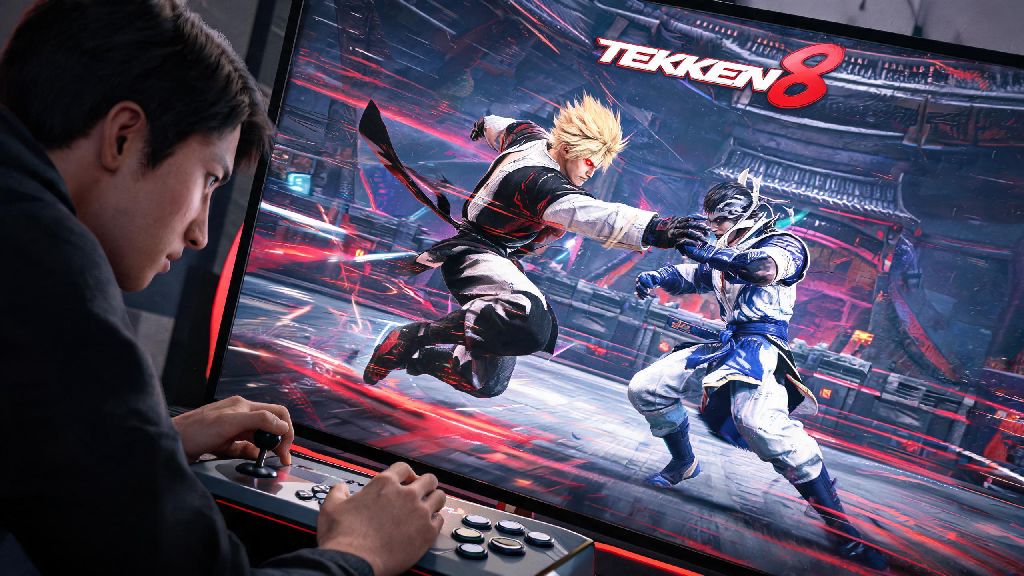
I lost three straight ranked rounds to a Jin main spamming throws last month, and I was fuming. I’d spent weeks practicing my combos and blockstrings, but I kept giving up 40% of my health bar out of nowhere to moves I thought were just random guesswork to counter. If you’ve ever felt like throw spammers are cheating their way up the ladder, you’re not alone. Most new and even intermediate players don’t realize grab breaks follow clear, learnable rules, not 50/50 guesswork. If you’re tired of losing rounds to unblockable throws you can’t seem to stop, this guide to how to break grabs in Tekken 8 will give you all the tools you need to shut down throw spammers for good.
How to Break Grabs in Tekken 8: Core Mechanics You Need to Memorize
First, let’s clear up the basic rules that apply to 90% of grabs in the game. Every standard throw falls into one of three categories, each with a corresponding break input. Left throws, triggered when your opponent presses 1+3 (left punch + left kick), break when you press 1. Right throws, triggered by 2+4 (right punch + right kick), break when you press 2. Double throws, which include most character-specific command grabs, require you to press 1 and 2 at the same time to break. You only have a 12-frame window to input a grab break after the throw animation starts, so you don’t have much time to think once the move begins.
There’s one critical rule most new players miss that leads to a lot of frustration. Grabs are completely unbreakable if you’re still in hitstun or blockstun from a previous attack. If your opponent just landed a jab that you blocked, or hit you with a combo ender that left you reeling, any throw they land in that small window can’t be broken. Don’t waste energy beating yourself up for missing those breaks, they’re impossible to stop unless you interrupt the throw before it starts.
You don’t have to rely purely on guesswork to pick the right break, either. Every standard throw has a visual tell you can learn to spot in matches. Left throws lead with your opponent’s left hand, while right throws lead with their right. It takes a little practice to spot the difference mid-match, but once you get used to it, look for the leading hand of your opponent’s throw animation to guess the correct break 70% of the time. Command grabs usually have longer, more distinct animations, so you’ll learn to recognize those for your most commonly matched opponents over time.
Common Grab Break Mistakes That Are Costing You Rounds
Even if you know the core mechanics, small mistakes can tank your grab break success rate. The most common error I see from new players is mashing break inputs as soon as they see a throw animation start. It makes sense to want to react fast, but mashing 1 and 2 back to back will often register as a 1+2 input, which won’t break standard left or right throws. One intentional input is always better than three rushed ones.
Another huge mistake is treating every throw like a random 50/50. Most players have consistent habits when it comes to throws, especially in high-pressure situations. You might notice a player always uses left throws when they have you pinned to the wall, or only goes for command grabs when they’re at 20% health or lower. Reading those patterns will make your break rate far higher than just guessing every time.
There are a few other mistakes that pop up constantly across ranks:
It’s also common to waste mental energy trying to break throws that aren’t even happening. If you’re always waiting for a throw, you’ll miss opportunities to interrupt your opponent’s pressure with fast jabs or counterattacks. Never mash break inputs if you can avoid it – one intentional input is far more reliable than three rushed ones.
Practice Drills to Master Grab Breaks Fast
Grab breaks are a skill like any other, and you don’t have to learn them the hard way through hundreds of ranked losses. The fastest way to build muscle memory is with 10-minute daily practice sessions in training mode. Start by setting the AI to throw only standard left and right throws at random, with input display turned on. Focus on spotting the leading hand first, then inputting the correct break. Once you can hit 80% of breaks consistently, add command grabs to the mix.
If you play on controller, I highly recommend mapping 1+2 to one of your back paddles or side buttons if you have them. Pressing two buttons at the exact same time can be tricky during fast-paced matches, and a single button bind will cut your miss rate for double breaks by half almost immediately. I didn’t make this change until I hit Fujin rank, and I immediately saw my grab break rate jump 20%.
Once you’re comfortable in practice mode, test your skills in casual player matches first before bringing them to ranked. Don’t worry about winning those casual matches – focus only on spotting and breaking throws for the first few rounds. Spend 10 minutes a day in practice mode drilling grab breaks, and you’ll see noticeable improvement in less than a week. It’s a small time investment that pays off massively in rank gains.
Situational Grab Break Strategies for Ranked Play
Once you have the basics down, you can adjust your grab break strategy for different in-match situations to get even better results. The most common high-pressure throw scenario is when you’re pinned to the wall. Most players will prioritize throws here because you can’t backdash away, and a wall throw leads to extra damage follow-ups. When you’re at the wall, prioritize grab break readiness over attacking unless you’re 100% sure you can interrupt their throw. You can also use a fast 10-frame jab to interrupt throws before they land, if you time it right.
Another common situation is after a combo ender. If your opponent’s combo just finished and you’re still in hitstun, remember that any throw they land in that window is unbreakable. Don’t waste your focus trying to break those, and instead start preparing for their next move once your stun wears off. If you’re not sure if you’re still in stun, watch for your character to return to their neutral idle stance – that’s when you’re able to break throws again.
When you’re playing against grappler characters like King or Armor King, you’ll want to adjust your strategy even more. Most of their high-damage throws are command grabs that require 1+2 breaks, so you can prioritize that input when you see their distinct throw animations start. Just don’t get too predictable – good grappler players will mix in standard throws to catch you spamming 1+2 breaks.
Breaking grabs doesn’t have to be the most frustrating part of playing Tekken 8. Once you learn the core mechanics, cut out common mistakes, and build up a little muscle memory, you’ll find throw spammers become free wins instead of ladder roadblocks. You don’t need superhuman reaction times to get good at this – most of the work comes from paying attention to your opponent’s habits and practicing the right drills consistently. Now that you know how to break grabs in Tekken 8, you can jump into your next ranked set with confidence, no more wasting health bars on avoidable throws.